Even though there is less in the box these days, getting a new phone is still an exciting experience. When the phone arrives, you open the box, peel off the wrapper, and power it on for the first time. After logging in to the phone and setting everything up, you can change the settings and preferences to make the phone your own. And when you have a Google Pixel 6a, one of the best budget Android phones, your experience improves even more when you turn on a few hidden features during the setup.
Here are five settings to change when setting up your Pixel 6a to give you the best experience possible.
1. Enable notification history on your Google Pixel 6a
Notifications are a common way we interact with our phones. Most people get so many notifications that it's hard to keep track of all of them. To make matters worse, some are time sensitive and may disappear after a certain amount of time. Google created a notification history feature that shows a log of your notifications.
- Pull down your notification shade.
- Tap Manage in the lower-left corner of the notification shade (you may have to scroll down to see it) to open the Notifications section in the Settings app. You can also get there by launching the Settings app and going to the Notifications section.
- Select Notification history.
.png)
.png)
- Toggle the Use notification history option to on.
.png)
.png)
The feature doesn't work retroactively, so you can't use it to find a notification that you've already had. To avoid missing a notification, enable it as soon as you get your phone. The feature only stores 24 hours of notification history, so don't procrastinate on finding that notification you missed.
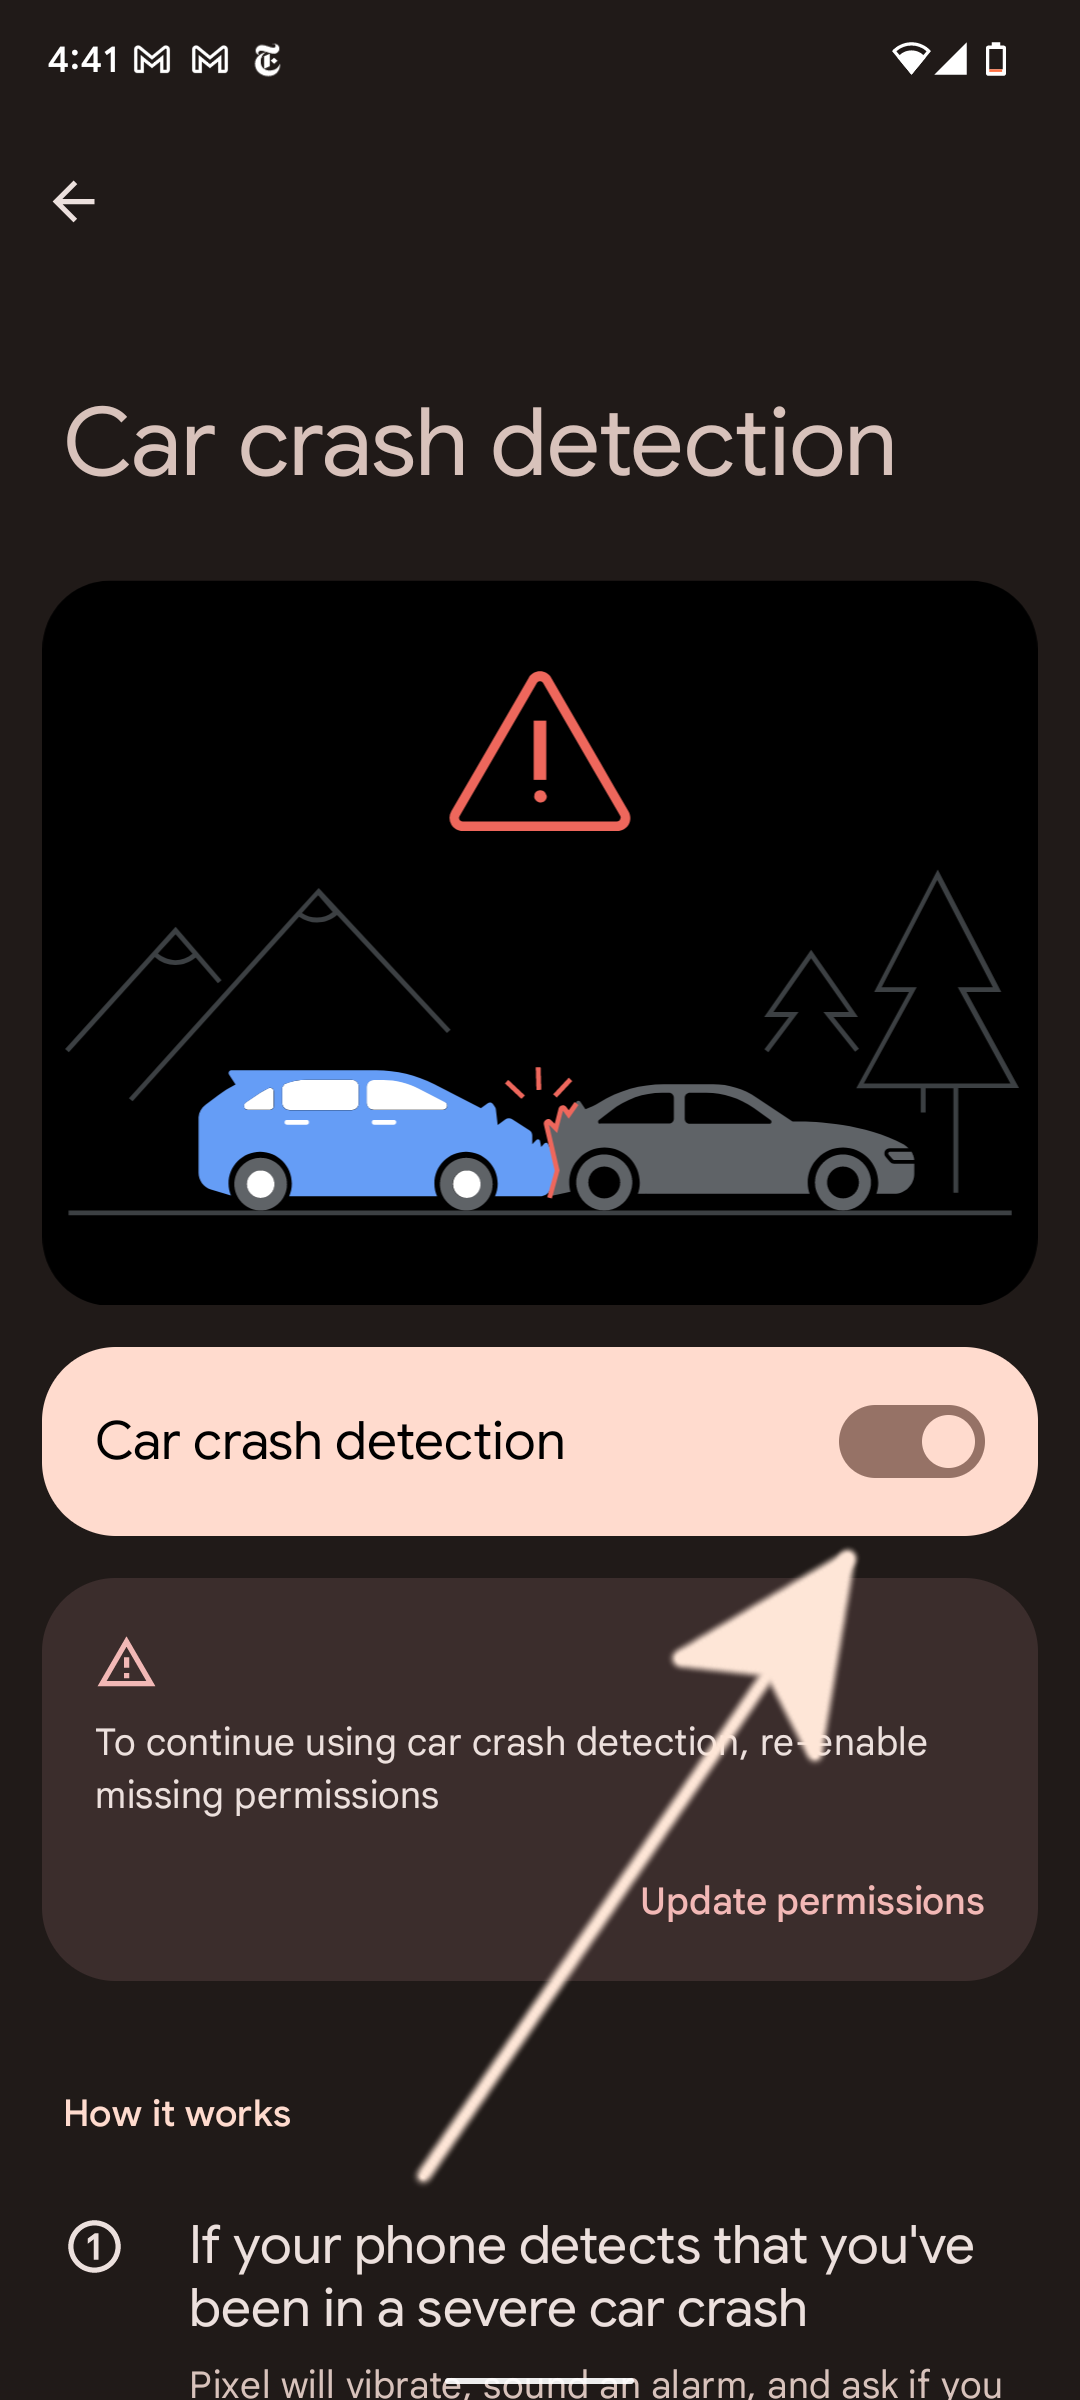
2. Set up car crash detection
When you turn on car crash detection, your Pixel 6a can detect if you're in a car crash using your location data, motion sensors, and ambient audio. When it thinks you've been in a crash, it tries to get your attention and asks if you need help. If you don't respond, your phone calls emergency services. The feature works well and has saved lives, so consider turning it on.
You may be prompted to turn on this feature during the setup process, but if not, you can set it up manually.
- Open the Personal Safety app (labeled as Safety in the app drawer).
- Select the Google account you'd like to have it tied to and tap Continue.
- You have the option not to have the feature associated with an account.
- Follow the on-screen instructions to add emergency contacts and medical information.
.png)
.png)
- Once you've set up the app, tap the Settings icon in the upper-right corner.
- Tap Car crash detection.
.png)
.png)
- Toggle the slider or update permissions to enable this feature.
- Grant the Personal Safety app Precise location and Allow all the time location permissions. This directs emergency services to your exact location and lets the feature operate in the background.
3. Turn on other Personal Safety features
While you're in the Personal Safety app, review the other features to see if any are useful to you. If you enjoy going on hikes or walking around town at night, set up the Safety Check feature, and the phone checks in with you at a pre-set time to see if you made it back alright. If you don't, your phone alerts emergency contacts with options to notify them or not once you've scheduled a check. This feature requires granting the Maps app access to your location. The app walks you through the process when you tap Safety check.
Emergency sharing, a related feature, grants one of your contacts access to your status and location for a pre-set period of time.
There's also an Emergency SOS feature that calls emergency services after a countdown timer when you press the power button five times quickly.
4. Enable Automatic call screening and other phone features
Spam calls are annoying and Google's Call Screening feature filters out most of them. This feature is one of the main reasons to buy a Pixel and cuts down on the number of distractions from your phone.
- Open the Phone app.
- Click the three-dot menu in the upper-right corner.
- Tap Settings.
.png)
.png)
- Select Spam and Call Screen.
- Tap Call Screen.
.png)
.png)
- In the Unknown call settings section, choose the types of calls you want to filter. Spam and Possibly faked numbers are recommended. You can also turn it on for private/hidden calls or First-time callers.
.png)
- For each type of call, you can set it to ring as normal, screen and automatically decline, or silently decline.
There are other options, like the ability to save Call Screen audio for later and to configure either a masculine or feminine voice to answer. In the Phone app's settings pane, you can also enable Hold for Me and Direct My Call.
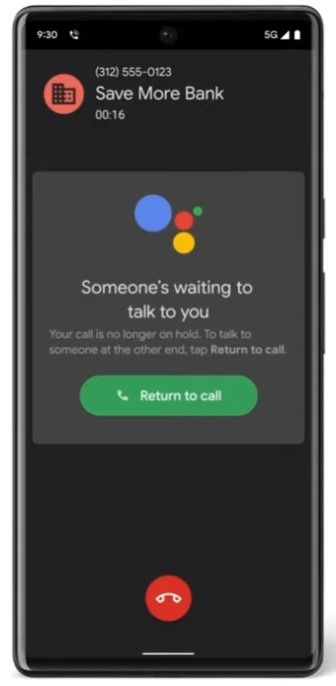
Instead of listening to hold music, Hold for Me waits on the line for you, and alerts you when someone answers. Direct My Call turns spoken telephone option menus into buttons with descriptions you can tap.
5. Opt out of binding arbitration
This isn't a setting, but it's something you should consider doing after you set up your new phone. There are no drawbacks and a number of potential benefits when it comes to your ability to exercise your rights.
By default, when you set up a Google device, you agree to a set of terms for its use. One of those terms is giving up your right to settle legal claims regarding your device through a lawsuit. Instead, you accept Google's preference to have these claims settled through arbitration.
Much this is a gray area subject to the interpretation of a judge or attorney, but you're effectively allowing Google to resolve your dispute in the way Google prefers. You don't have to keep this option, as long as you notify Google that you want to opt out of its binding arbitration agreement within 30 days of activating the device.
We have an in-depth walkthrough of how to opt out of Google's binding arbitration agreement, but in short:
- Navigate to Google's device arbitration opt-out form on any device.
- Select the Google device you'd like the change to apply to from the drop-down list.
.png)
.png)
- Find the serial number for your Pixel 6a in Settings > About phone > Model & hardware > Serial number.
- Long-press the serial number to copy it to your clipboard.
- Paste or type the serial number for your Pixel 6a into the form and select Submit.
This only applies if you're in the U.S. (and the terms of the original binding arbitration agreement only apply if you're in the U.S.), but there's no harm in doing it. If you have an issue with your Google Pixel 6a down the line, you've retained rights that could be valuable.
6. Enable themed icons
As part of Google's Material You update, you can make the app icons on your homescreen match the theming on the rest of your device. This feature isn't on by default since it can make your phone look inconsistent until more apps adopt it, but it's a great feature if you can accept an icon that doesn't match here or there.
- Long-press an empty spot on your homescreen.
- Tap Wallpaper & style. You can also navigate to this menu by opening the Settings app and tapping Wallpaper & style.
- Scroll down to Themed icons and tap the toggle switch on the right side of the option to enable it.
.png)
.png)
You can't go wrong with the Google Pixel 6a
There are a number of settings you can change to make your new Pixel 6a your own, but these are some of the most important. If you're looking for a major upgrade, the Google Pixel 7 Pro is one of our favorite phones of the year. There are also some helpful tips and tricks to make your Google Pixel's camera experience the best it can be.


